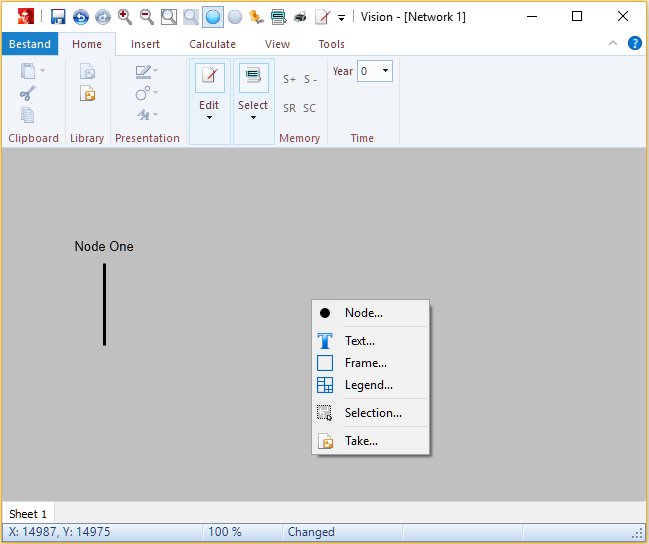
To add a new node, first click on the worksheet using the right mouse button. A pop-up menu will appear in which a Node should be selected (using the left mouse button).

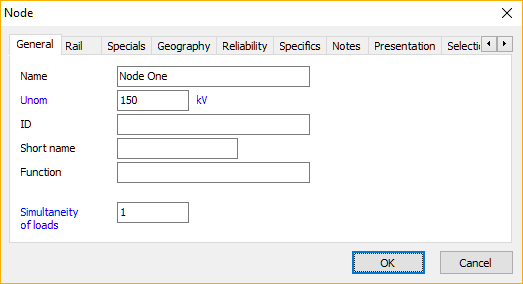
Hereafter, the Node input form pops up, with a number of tabs. The first tab contains the general data, like the Name of the node and its Rated Voltage. In this example an node will be added with the name Node One and a rated voltage of 150 kV.

The default presentation of a Node is a vertically oriented bar. The presentation of the node can be customised using the View tab in the node pop-up menu.
Subsequently a second node will be added by right clicking on the worksheet, to the right of the first node.

On this spot, an MV node will be added with the name Node Two and a rated voltage of 10 kV.
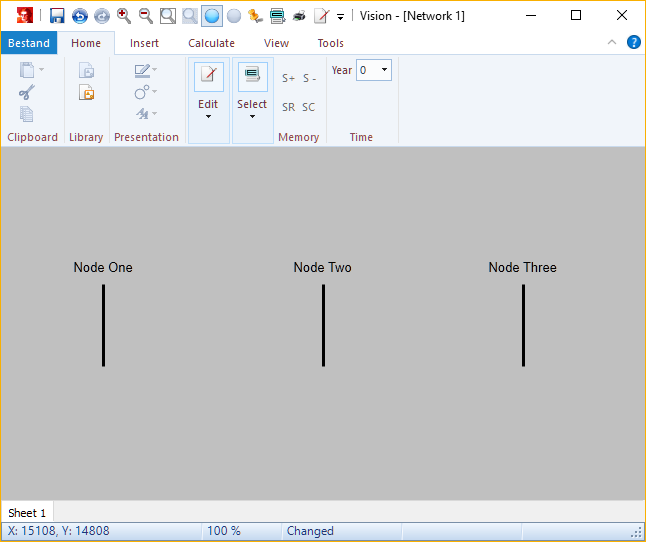
In the same way a third node will be added, to the right of the second node. The name will be Node Three and it has a rated voltage of 10 kV.
The network under construction is depicted in the next illustration:

The next step will be Adding new connections.